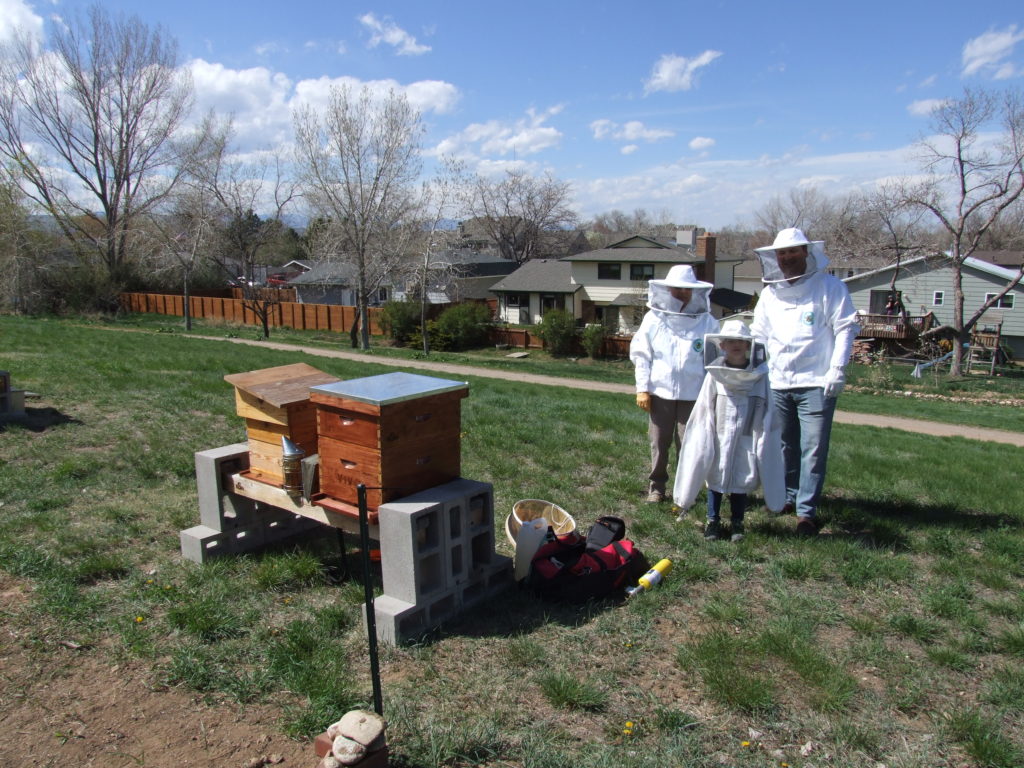
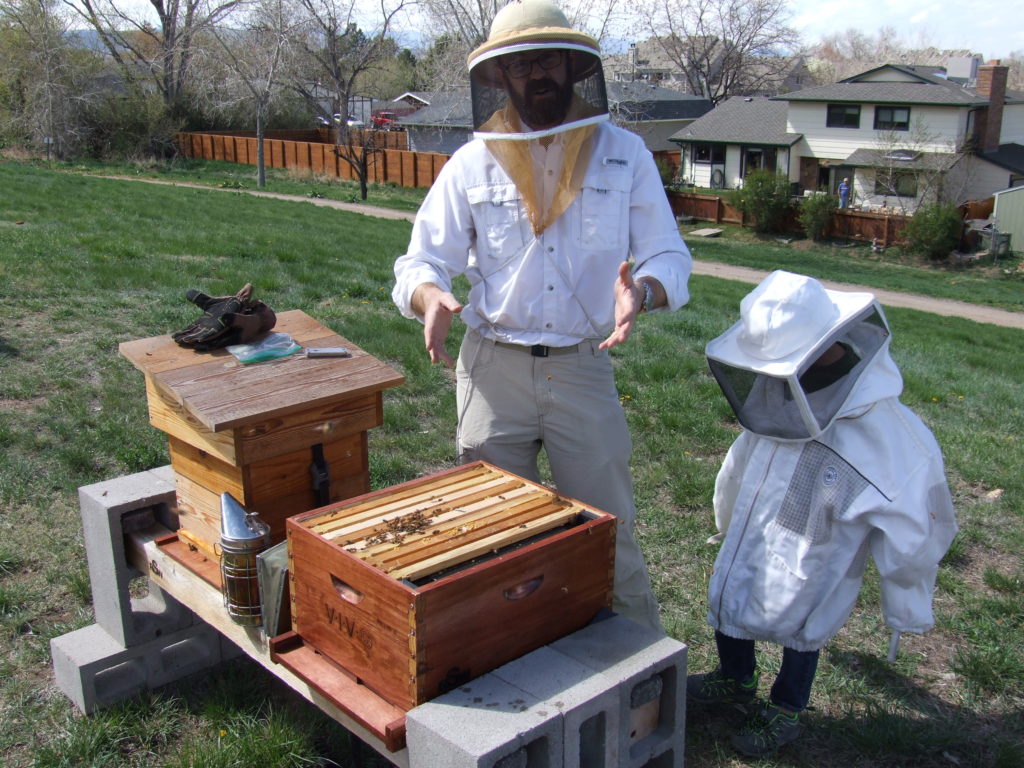
I will be on campus Saturday, May 18, 10:00am – 12:00pm performing hive inspections and the install of a new bee colony. Please join us if you are interested in learning about bees up-close or watching from afar. We will be meeting on the North road, greenspace berm, across from the lower school building.
All are welcome to join us; faculty, staff, parents, kids. Make sure to bring your curiosity and sense of adventure. Bee suits not required.
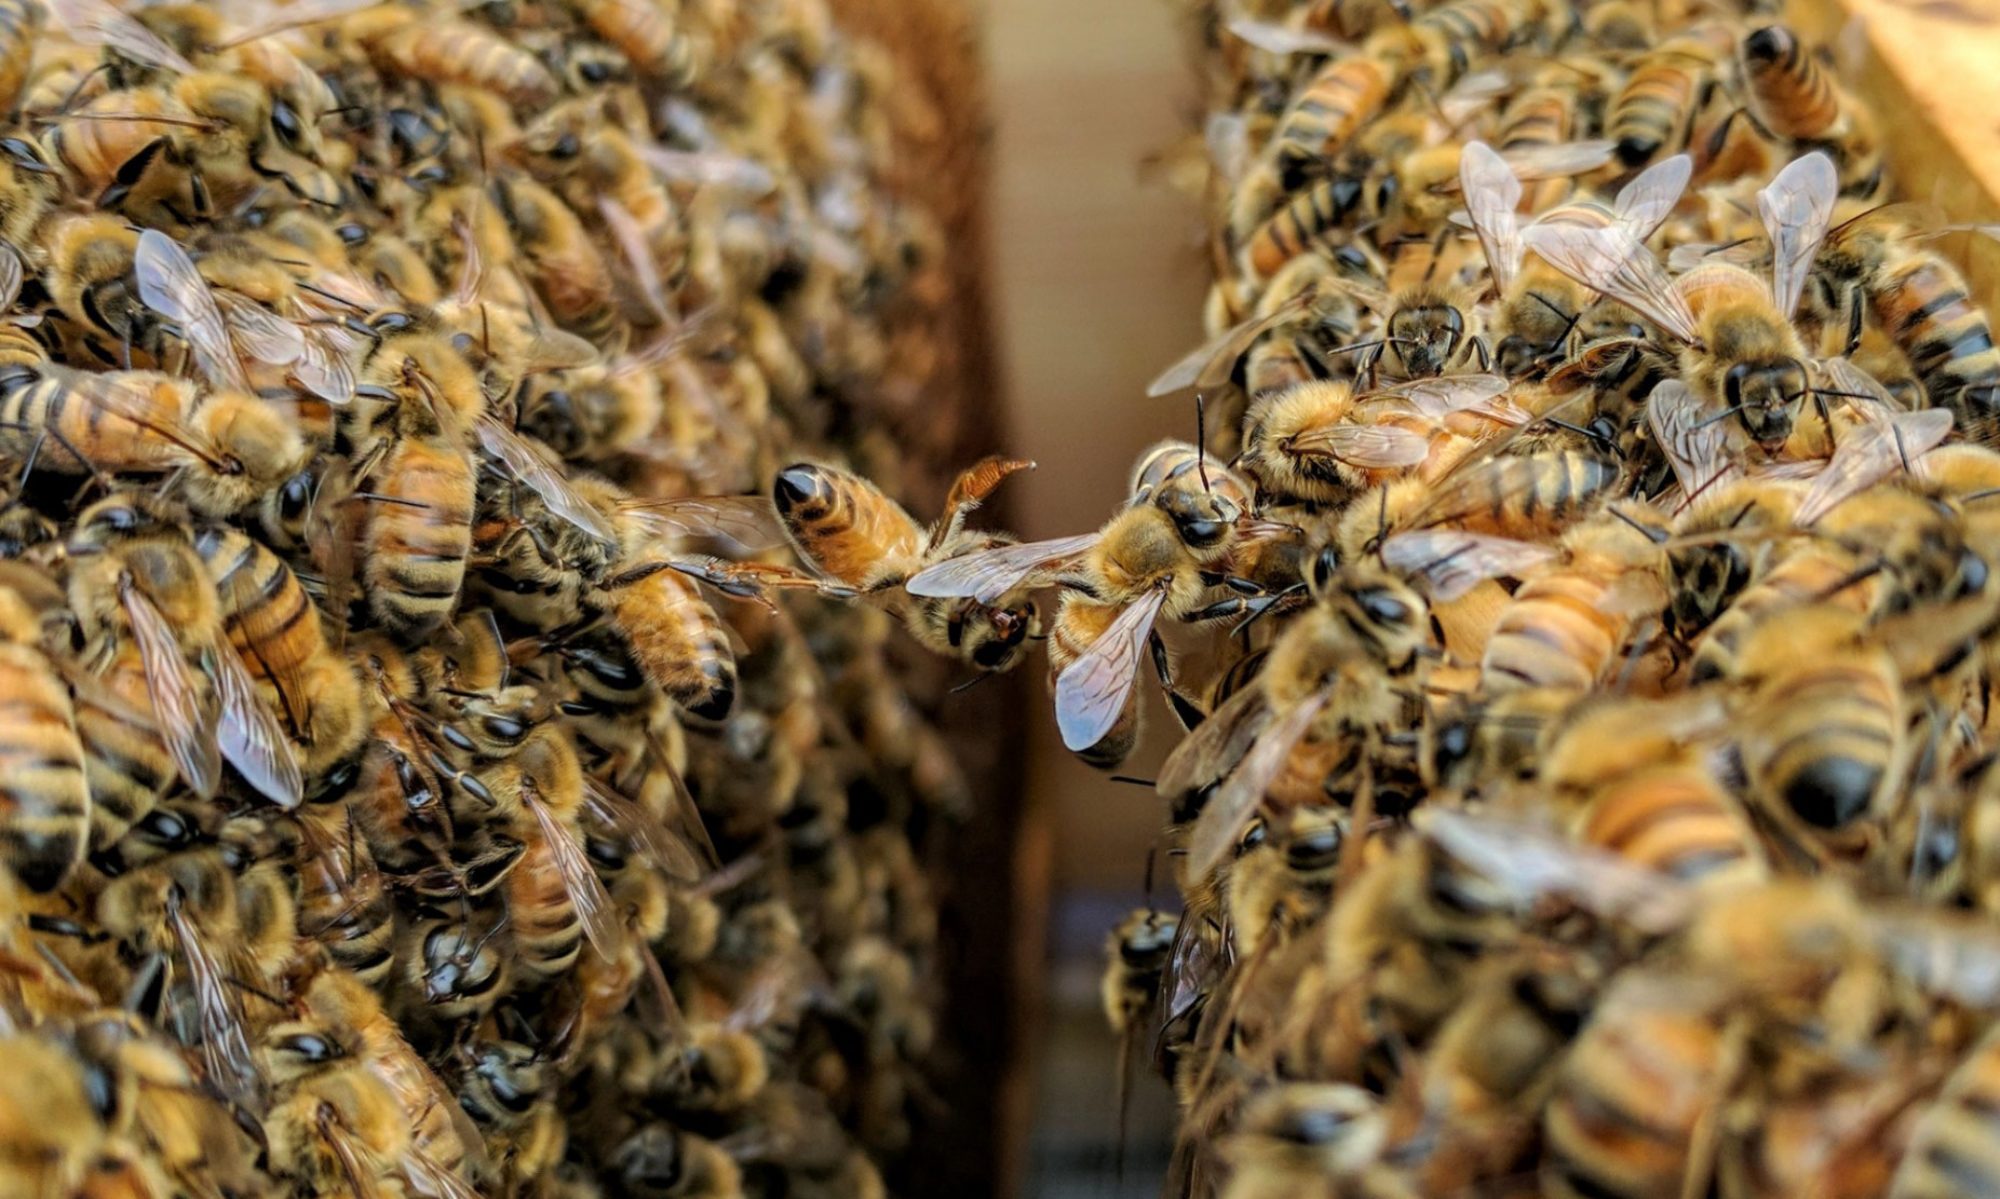
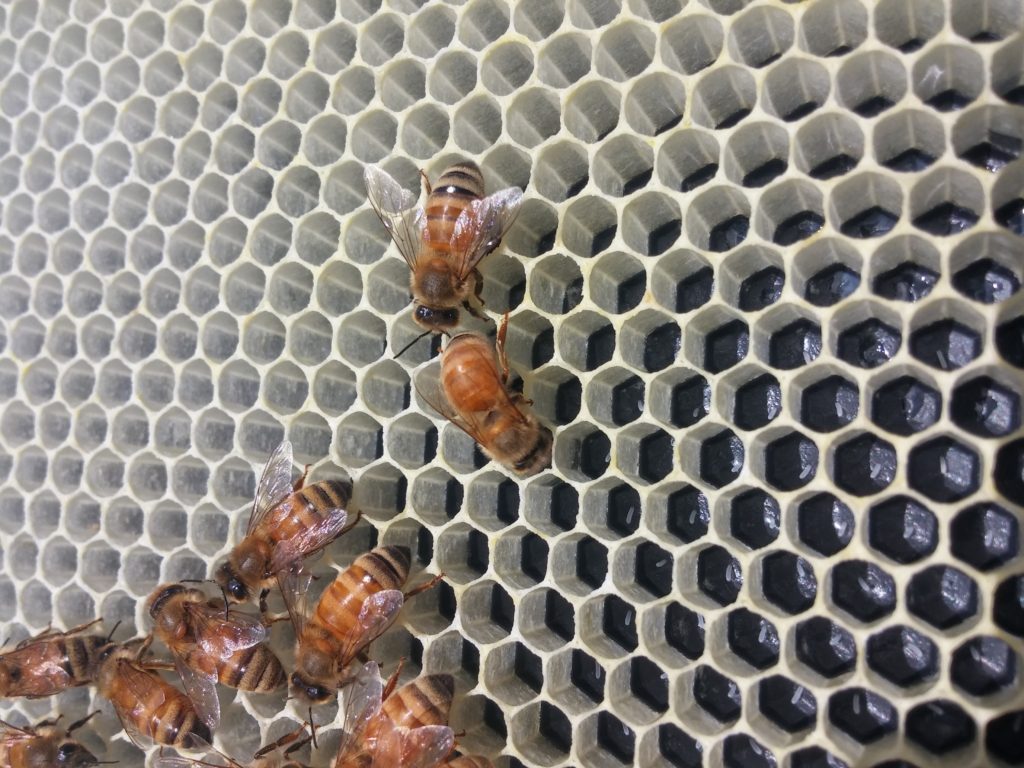
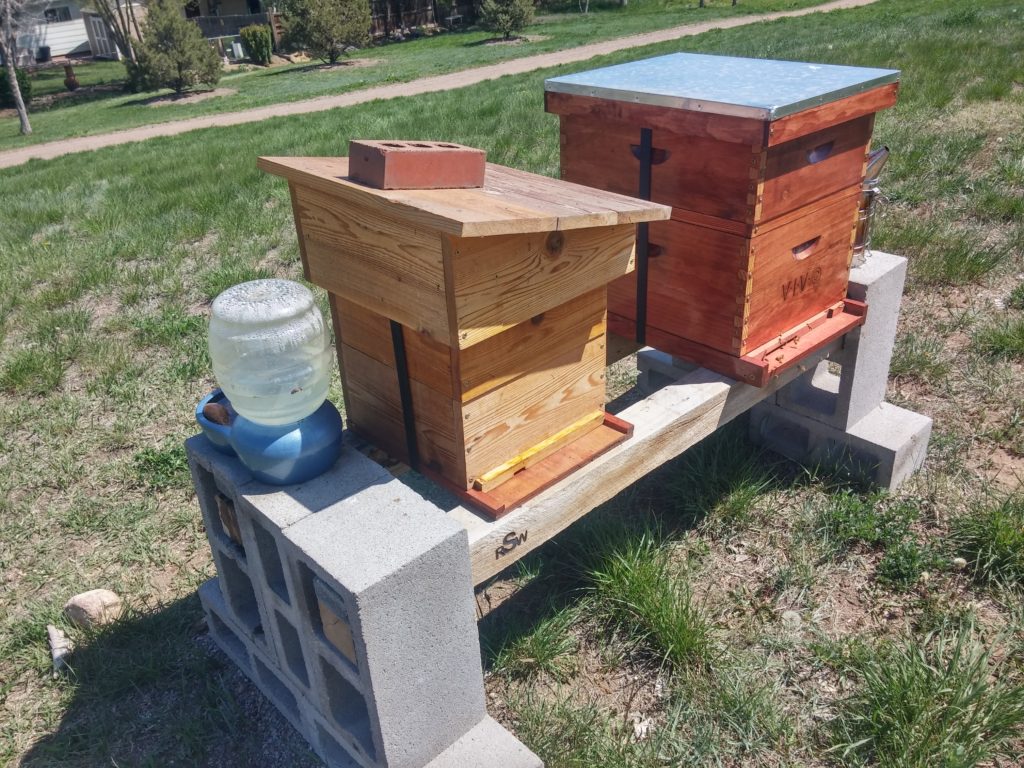
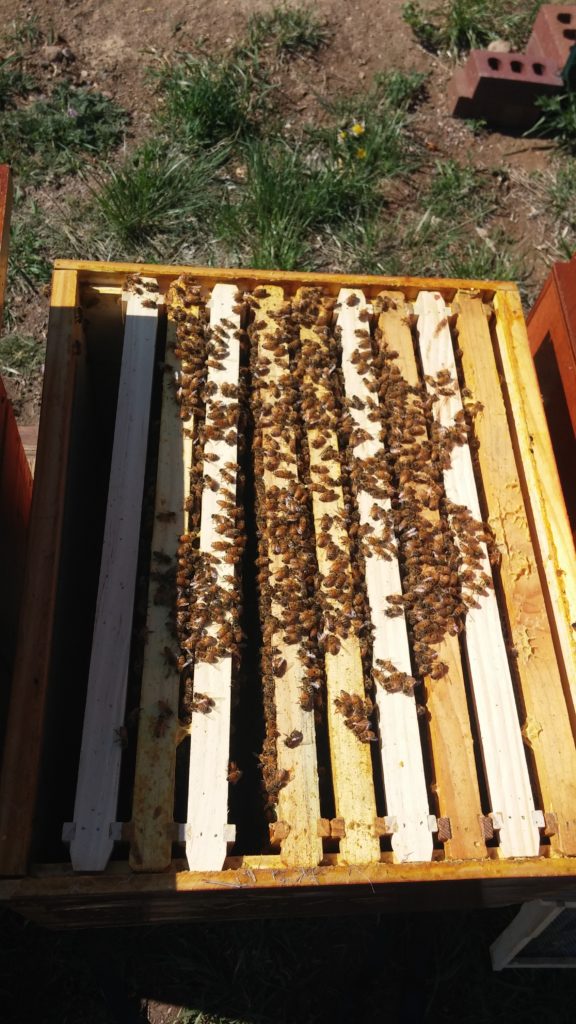
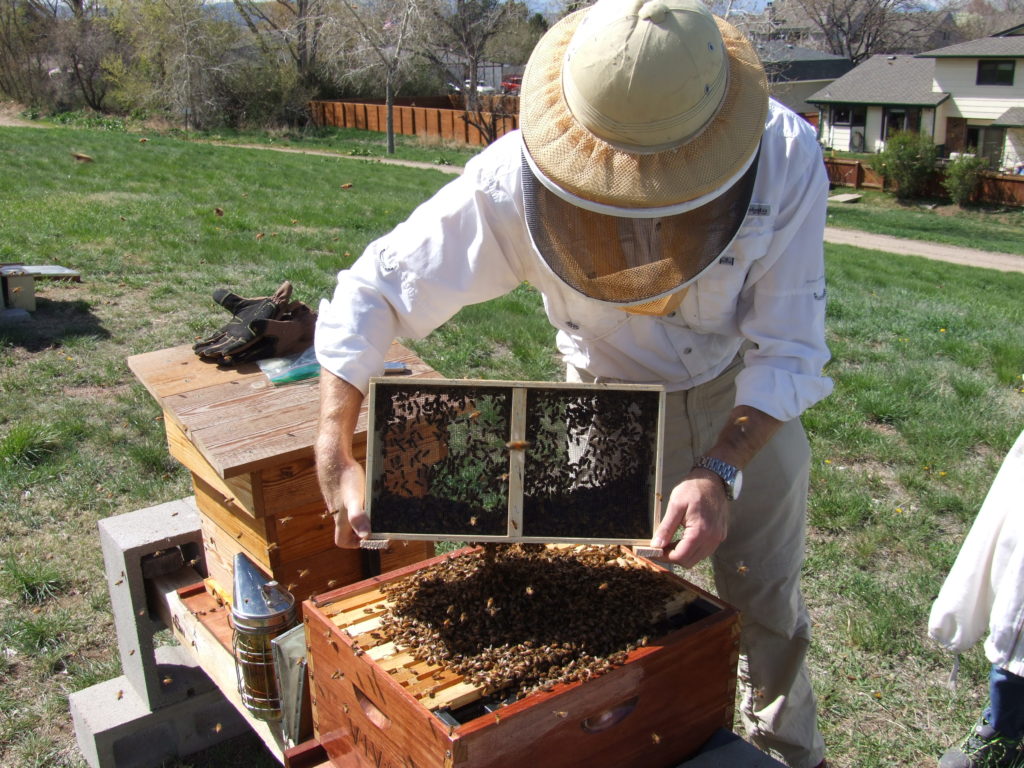
Campus hives were inspected. Apis19A and Apis19B were opened and a quick inspection performed. Eggs and larva were seen. New comb being drawn very quickly. Both colonies are extremely calm and easy to manage at this point. No smoke needed.
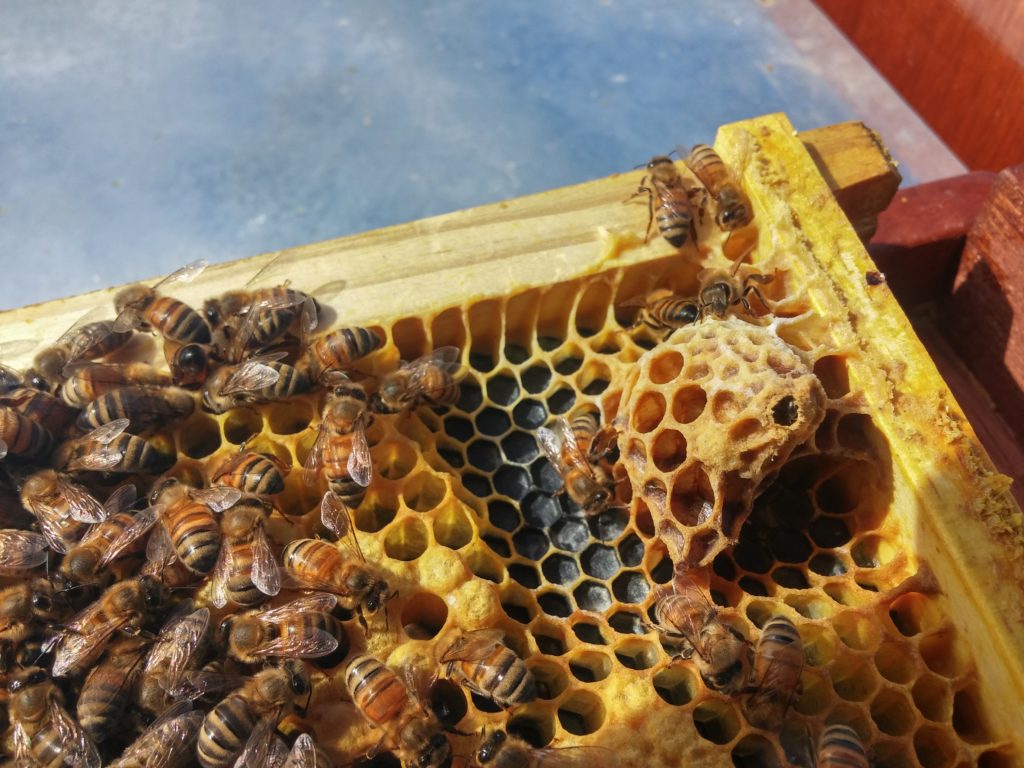
WildCA18B split hive opened and inspected. Queen cell was indeed dead and not viable. Bees had chewed the cap partially off of the queen cell and inside was a dead queen. Currently this hive has been split across 2 nuc boxes with a queen excluder between. The queen excluder was removed making this 1 colony again across 2 stacked nuc boxes. No smoke needed. This colony has never grown very large. I suspect these 2 nuc boxes will be adequate for their long term needs.
Splits were left alone and not bothered. The queen should have had their mating flights across the last few nice warm days. I would have expected the mating flights to occur between May 2nd – May 6th. If not, they will not have another chance.
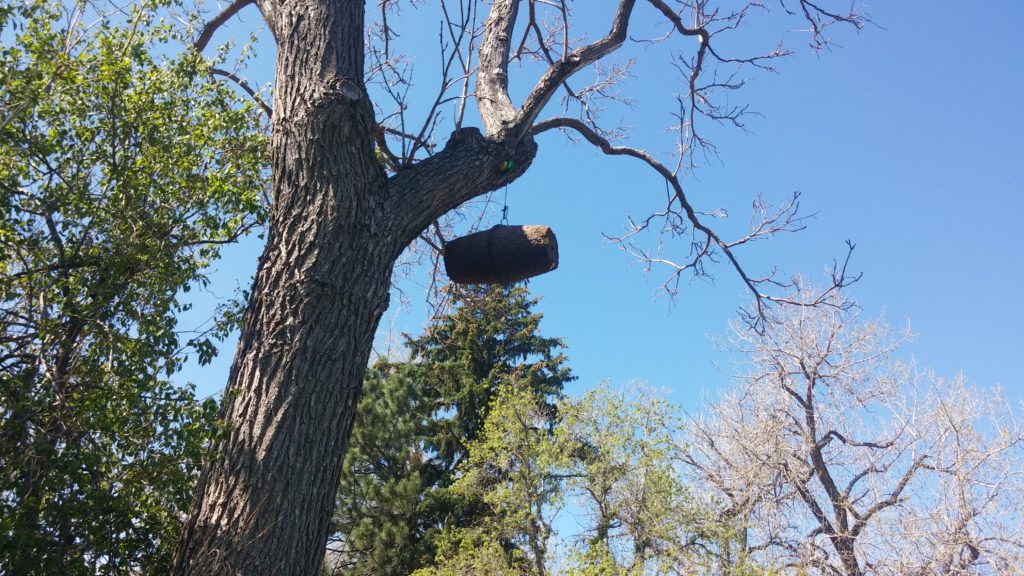
Swarm traps were inspected and baited with Swam commander.
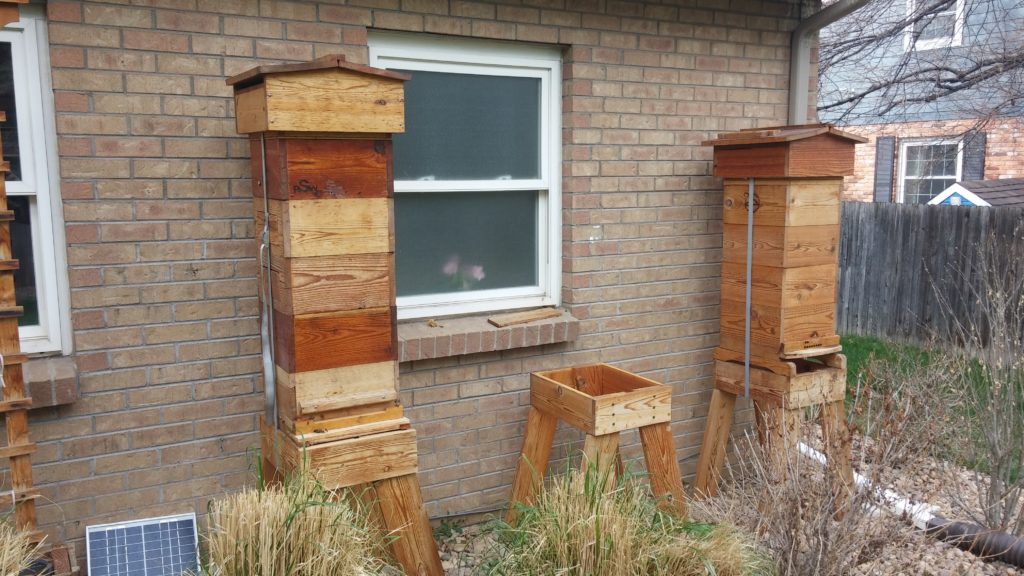
WildCA18A (left) colony opened. This is by far my best wild colony. Every queen graft and split made this year has been from this colony. The genetics are extremely calm, very hygienic and good producers. Today was no different. Four out of the five boxes were filled with bees and brood, nectar and pollen. Almost no honey stores yet. I did not find any established queen cells. However, I did find some false queen cups. I would say they are not likely to swarm. I swapped one frame of eggs and larva with a capped brood frame from the starter colony. I hope the starter colony begins making some more queens.
Wild17 (right) as true to all previous inspections for the last two years have shown is plain mean and should be re-queened. I have given this hive ample chances to just blame the behavior on a “bad day” or “no resources”. I did not open this hive. My hope is to either re-queen or force them to swarm. They down right suck. I would like to re-queen with genetics from WildCA18A.
Checking on the WildCA18B double NUC split. The top box has an unhatched queen cell removed from the WildCA18A mother colony boxes. The queen cells is still unhatched and looks intact. I am concerned that the cell is unhatched this far along in the schedule. I will check on Sunday.
Baited the 3 swarm catchers located on the south side of campus with only lemon grass oil. I will bait with swarm lure this weekend. I have noticed scout activity over the past few weeks. I have also seen an increased activity from the wild hive trees.
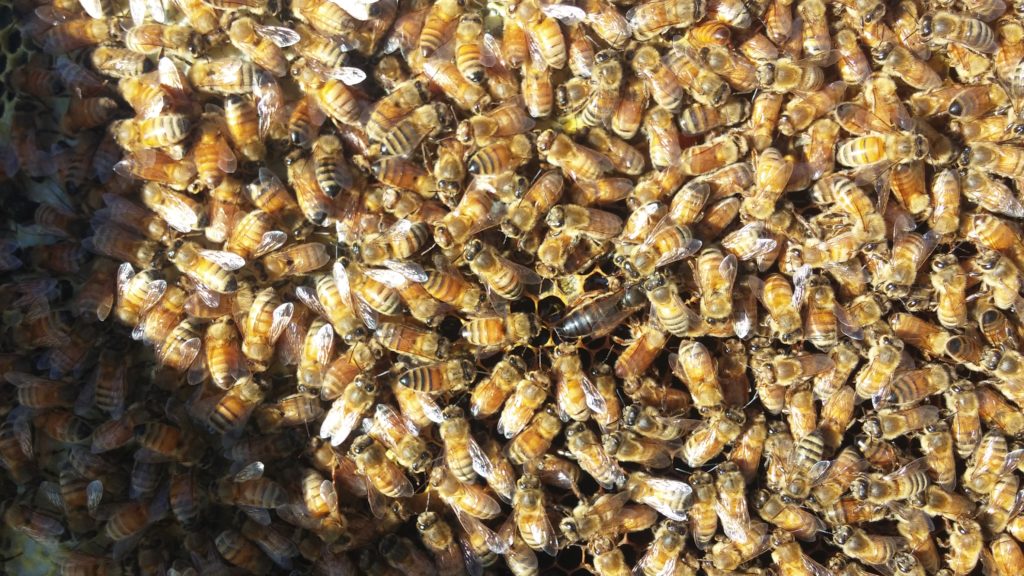
Opened the two new package colonies, ApisCA19A and ApisCA19B. Both colonies had newly laid eggs and new comb is being drawn out. ApisCA19A is a much larger group of bees. ApisCA19B is a significantly smaller colony. I was able to find the queen in ApisCA19B. Filled sugar feeder.
The unhatched queen cell sourced from the WildCA18A mother and installed into a mating colony on April 28 was checked. The mating colony looks in excellent health and good condition. Worked with the mating colony without any smoke and no aggression seen. The queen cells was empty. Unfortunately the queen was found dead on the bottom of the mating colony box. This new queen failed so I will be returning the brood frames, nectar frames and bees back to the WildCA18A mother colony.
The most frequent question I get this time of year, is how do you purchase bees? If you are interested in beekeeping, then you need to start all your work and preparation during the winter months. Typically this involves purchasing all of your hive equipment and also placing an order for your bee package well ahead of time. Bees are typically delivered for local pickup on a prescheduled day in April or May.
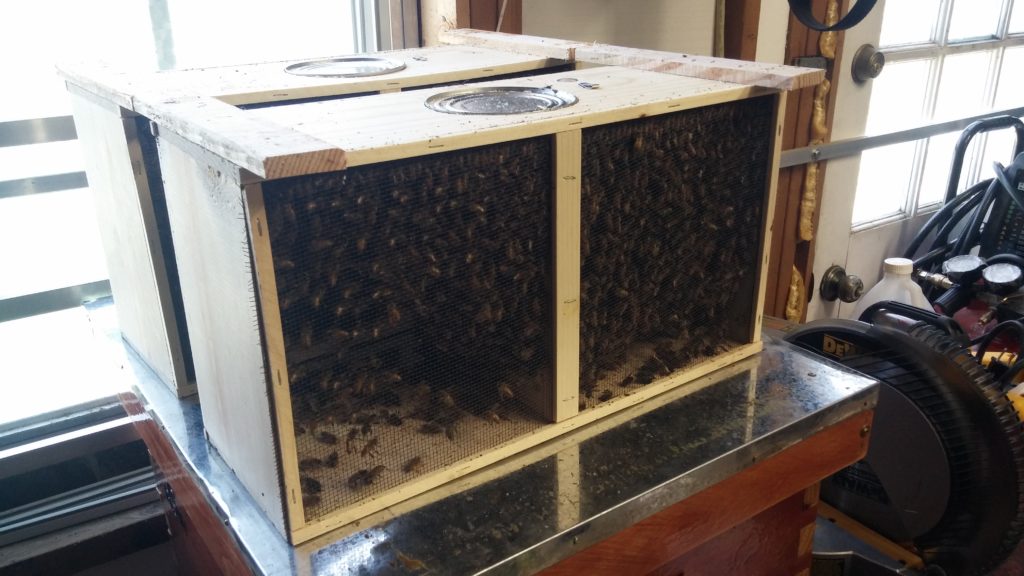
A bee package is simply a small wooden container with wire screen sides which contains a small food supply, a caged mated queen and about 3 pounds of worker bees. This package of bees probably contains about 10,000 workers bees and is enough to begin a new colony.
The package of bees is fairly durable and can survive sealed in its current state for about 48 hours. However it is extremely important that the bees are kept in a well ventilated and comfortable temperature. If I am keeping bees inside the package because of bad weather, I will keep them inside the house and twice a day lightly spray them with a sugar and water solution. Obviously the sooner you can get the package installed into the hive the better.
The day you install the package of bees should be a calm day with good warm temperatures. If you must, you can install the bees on a cold cloudy day but if the weather is better in 24 hours, I would wait. It will be better for the bees and more fun for you.
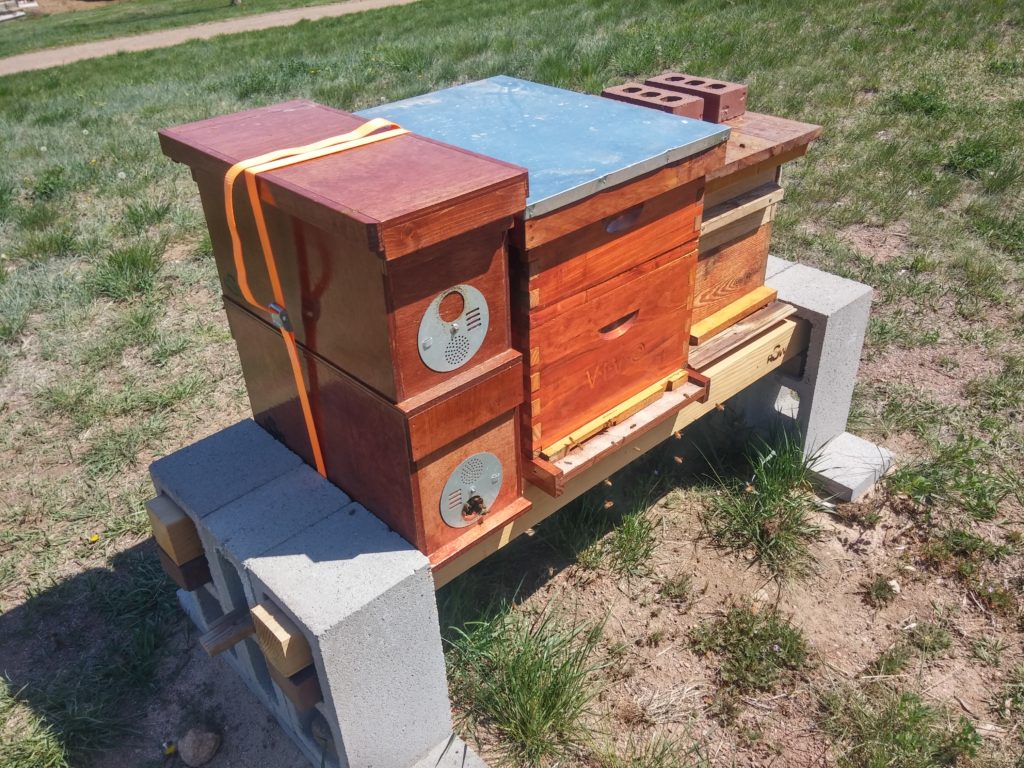
You should already have prepared the new hive for your bees to move into. Remember you cannot move the hive for the next month so make sure to have the hive in a good spot. If you are using a Langstroth hive design, we will only be working with the bottom deep brood chamber.
Prepare the hive and make sure that everything is ready to install the bees. When you finish installing the bees you want to immediately close the hive up and let the colony begin to organize. Once you dump the bees into the hive there is no going back so make sure everything is ready.
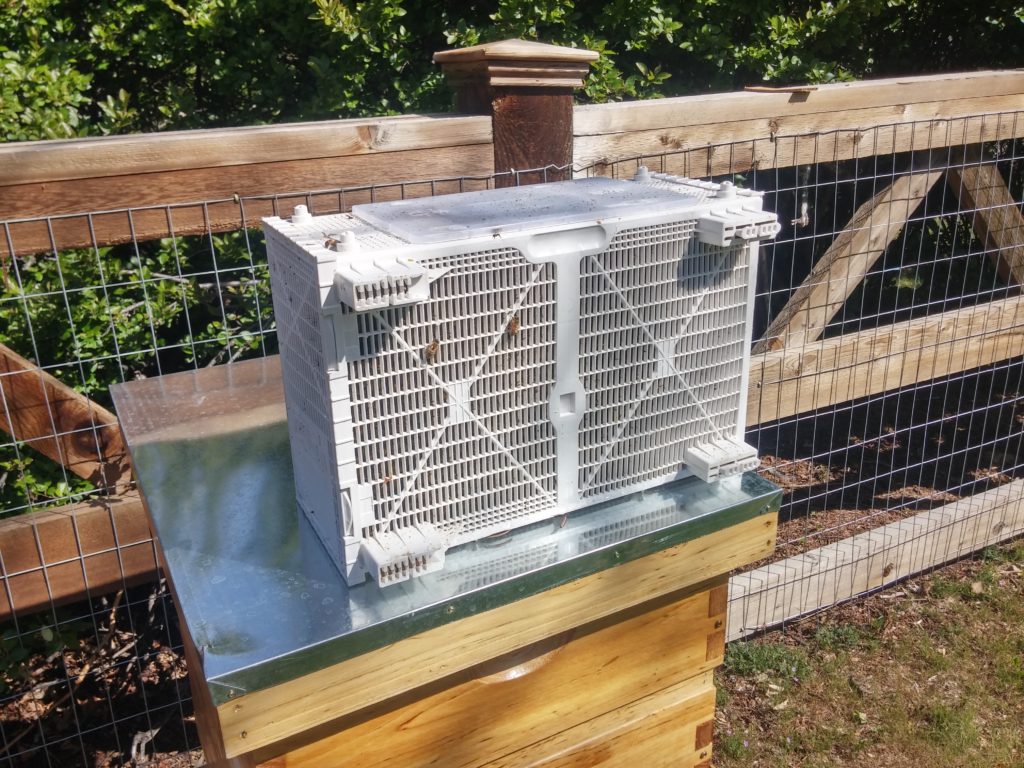
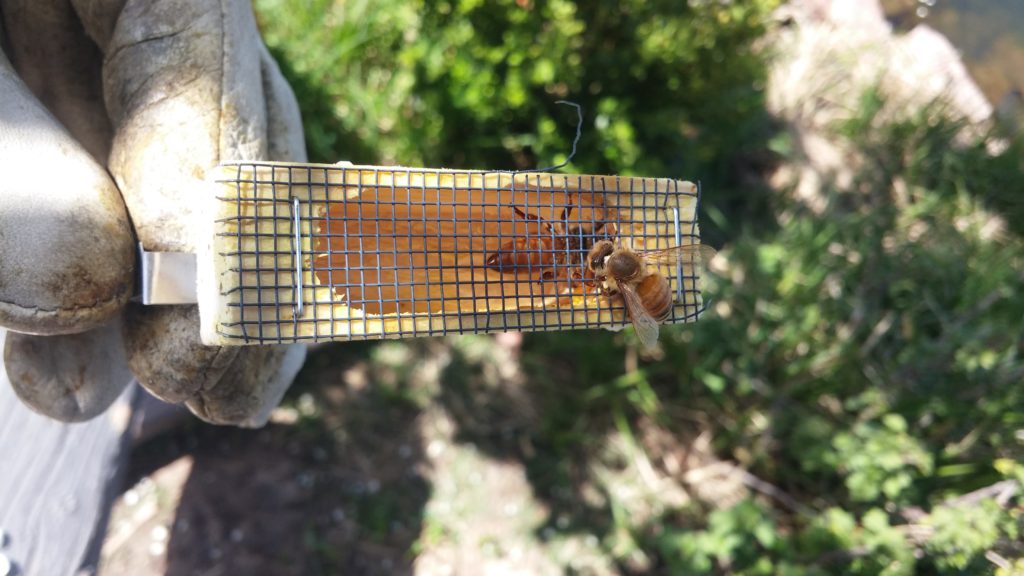
Suit up and get ready to install your bees. Begin by carefully removing the metal can of sugar water that is closing up the box of bees. Carefully and slowly lift the entire can of sugar water out of the box. Do not be concerned about the bees that fly out. Then you will carefully remove the queen cage that has a metal tab and is slotted into the wooden box. Once you have the queen cage out, place a rag or small piece of cardboard over the bee package opening to keep the bees inside the box.
Take the queen cage over to your hive body and begin to gentle nudge the bees off of the queen cage. Do not wipe the wire screen with your finger as it could damage the queen bee’s legs. Then you will gently pry the cork out of the opening in the end of the queen cage. And in one controlled movement press a marshmallow into the opening.
Then take the queen cage over to the hive body and hang the queen cage on one of the frames with the marshmallow opening facing downwards and the wire screen facing open space. The nurse bees will feed the queen through the wire screen. Unfold and use the metal tab as a hanger over the wooden frame.
Once the queen is secure then comes the fun part. Take the wooden package of bees with one hand on either side and in a sequence of controlled and swift movements, over a distance of about 2 inches firmly slam the wooden box onto the ground twice. This will make all of the bees fall into the bottom of the box. Then immediately upend the box and with a side to side rocking motion dump the bees out of the box directly on-top of the open hive body. Then repeat a couple of times. Finally you can rest the mostly empty box to the side and the bees will find their new home by themselves.
As soon as possible, I would put the hive body cover on the brood box. The bees will already be moving into the hive body between the frames. Give them a few minutes. Then gently place the cover over the hive. I like to hold the cover about 1/4 inch over it’s resting place and wiggle the cover around in a small circle. This gets the bees to clear the area and you can lower the cover all the way down without crushing too many bees.
Make sure to open the entrance wide so that the bees can fan the queen pheromone. The bees remaining outside the hive should begin to march into the entrance and start to make order of their new home. After about 20 minutes most bees should be inside the hive. Then you should close the entrance down to the smaller option on your entrance bar.
I usually stick around for awhile just to make sure the activity in front if the hive is settling down and looking normal. What you do not want to see is bees pouring out of the hive and bearding on the entrance. That would be bad.
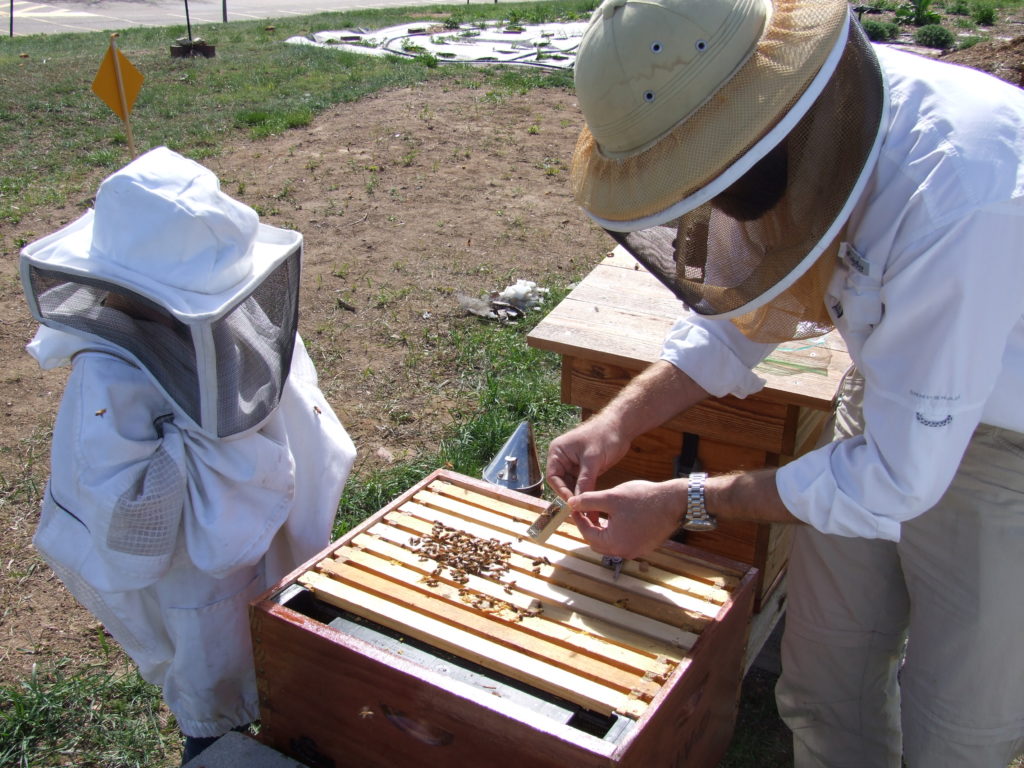
About 1-2 days later depending on when the weather allows, I open the hive up to check on the queen. I usually do not use smoke during this first inspection. The new bee colony probably do not yet mind you opening them up and I do not want to disrupt all the important work that is underway. What you would like to do, is very carefully and slowly move the queen frame aside and inspect the queen cage. The queen should have been freed and is now somewhere in the hive. With so many disorganized bees and a disorganized hive, I do not yet attempt to find the queen. Remove the empty queen cage and put the hive back together very carefully. We do not know where the queen is so be extremely careful.
If the queen is not yet freed from the cage, go ahead and remove the candy plug and let her escape into the hive. Do this work directly over the hive so she does not fall onto the ground. Simply remove the candy plug and place the cage on the frames, she will crawl out and go down into the hive.
Lets’ explore something that few people know about. Let’s dive in to something which sounds scary. Let’s discover a new world. Beekeeping provides an amazing opportunity to learn about a wonderfully complex and entirely foreign system of life.